Top 5 Microwave Repair Hacks You Need to Know
Microwaves have become an indispensable part of modern kitchens, revolutionizing the way we prepare meals. However, like any other appliance, they are prone to wear and tear, leading to malfunctions that can disrupt our daily routines. From heating issues to turntable malfunctions and electrical glitches, these problems often leave us pondering over repair solutions.
In this guide, we delve into the top 5
microwave repair hacks you need to know. These hacks are designed to empower you with practical solutions to common microwave problems, allowing you to troubleshoot and resolve issues without the need for extensive expertise or costly professional assistance. Let's embark on this journey to discover the top 5 microwave repair hacks that will transform how you troubleshoot and fix your microwave issues.
Safety Precautions Before Attempting Repairs
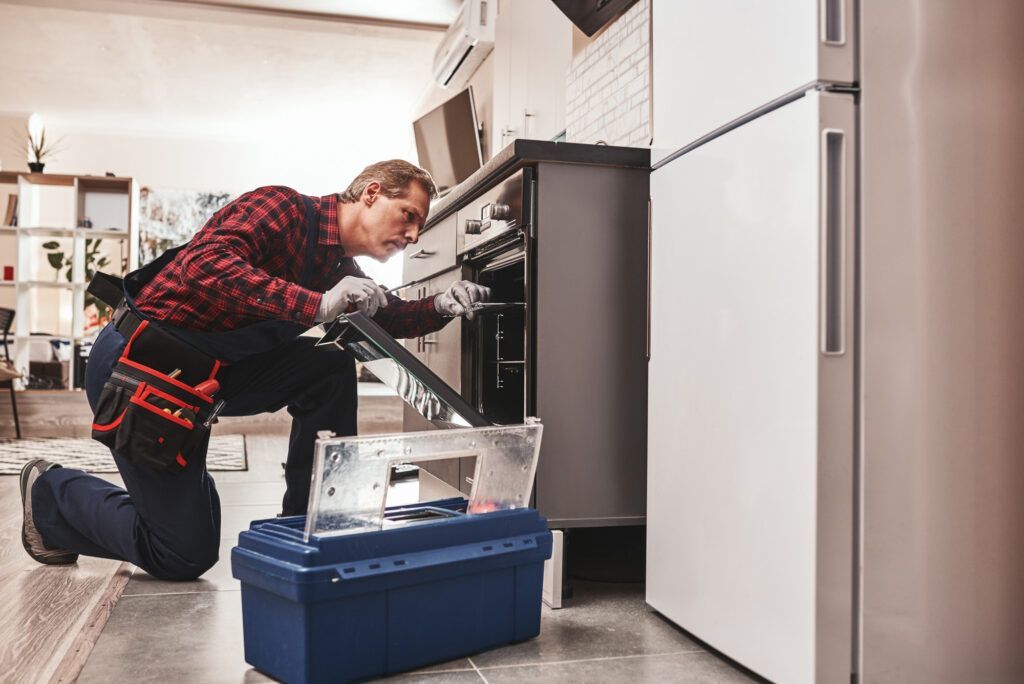
Microwaves are intricate appliances that operate with high voltage and can pose potential risks if mishandled during repairs. Before attempting any repair work on a microwave, it is imperative to prioritize safety precautions to ensure personal well-being and prevent further damage to the appliance.
Understanding Microwave Safety
- Always unplug the microwave from the power source before initiating any repairs. This step is crucial to prevent electric shock or injury.
- Capacitors in microwaves can store electrical charges even after being unplugged. Discharge these capacitors properly to avoid electric shocks. If unsure, consult the manufacturer's instructions or a professional.
- Microwaves emit electromagnetic waves that interact with metal, causing sparks and potentially damaging the appliance. Refrain from placing metal objects or tools inside the microwave during repairs.
- Ensure proper ventilation in the repair area to prevent the buildup of gases or fumes. This step is crucial as microwaves heat food, and remnants might cause health hazards if not adequately ventilated.
- If uncertain about the repair process or dealing with intricate electrical components, seek advice or assistance from a qualified professional. Safety should never be compromised for the sake of DIY repairs.
Safety Gear You'll Need
- Use insulated rubber gloves to protect yourself from electrical shocks when handling internal components.
- Shield your eyes from any debris or accidental sparks during the repair process by wearing safety goggles.
- Opt for insulated tools specifically designed for electrical repairs to minimize the risk of electric shock.
- A multimeter helps in checking electrical continuity, voltage, and resistance, aiding in the diagnosis of electrical issues.
- Have a fire extinguisher nearby as a precautionary measure in case of electrical fires.
- Keep the workspace clean and organized to avoid accidents. Ensure it's well-lit for better visibility during repairs.
By adhering to these safety precautions and using the recommended safety gear, you can significantly reduce the risks associated with microwave repairs. Prioritizing safety not only safeguards you but also ensures the effective and secure handling of the appliance throughout the repair process.
These safety measures and equipment are crucial elements to include when approaching microwave repairs, emphasizing the importance of caution and preparedness before delving into any troubleshooting or repair work.
Hack 1: Fixing Common Heating Issues
Microwaves rely on their heating elements to function effectively. When these elements encounter issues, they can disrupt the entire heating process, affecting the microwave's performance. Here's a comprehensive guide on identifying and diagnosing heating problems in your microwave.
Uneven Heating:
Food not heating uniformly might indicate a problem with the microwave's heating elements or the turntable mechanism.
No Heating at All:
If the microwave runs normally but fails to heat food, it's a clear sign of a heating issue.
Unusual Sounds or Smells:
Any abnormal sounds (like sparking) or strange odors during operation indicate a potential problem.
Diagnosing Heating Element Issues
Inspecting the Magnetron: The magnetron is the component responsible for producing microwave radiation. A malfunctioning magnetron can cause heating problems. Check for signs of damage or burn marks.
Testing the High Voltage Diode:
The diode allows electricity to flow in one direction. A faulty diode can disrupt the flow of electricity to the magnetron, affecting heating. Use a multimeter to check for continuity.
Checking the Capacitor: Capacitors store and release electrical energy. A defective capacitor might result in heating issues. Discharge the capacitor safely before testing it with a multimeter.
Examining the Thermal Fuse:
The thermal fuse protects the microwave from overheating. If it's blown, the microwave won't heat. Test it for continuity using a multimeter.
Assessing the Control Board:
Sometimes, control board malfunctions can affect the microwave's heating capabilities. Check for any burnt components or loose connections on the control board.
Inspecting Wiring and Connections: Loose or damaged wiring can disrupt the flow of electricity to the heating elements. Ensure all connections are secure and undamaged.
Turntable Mechanism Check: If the turntable isn't functioning correctly, it can lead to uneven heating. Inspect the turntable motor and its connections for faults.
Identifying the root cause of heating issues in your microwave can be accomplished by meticulously examining and testing these components. Remember, handling internal components requires caution and adherence to safety protocols to prevent accidents or further damage to the appliance.
Hack 2: Resolving Turntable Malfunctions
The turntable in a microwave ensures even cooking by rotating the food, but when it malfunctions, it can lead to unevenly heated meals or no rotation at all. Here's a guide on troubleshooting turntable rotation issues and repairing or replacing turntable components.
Troubleshooting Turntable Rotation
Begin by visually inspecting both the turntable tray and its rotating mechanism, scanning for potential obstructions, debris, or misalignments that could impede smooth movement. Proceed to test its rotation by running a microwave cycle sans any food, closely observing any irregularities or complete lack of movement, as this signals potential underlying issues. Additionally, ensure the integrity and alignment of the turntable support or coupler, the crucial component linking the turntable to the motor, as any damage or misalignment in this area could significantly impact its rotation.
Repairing or Replacing Turntable Components
Start by thoroughly cleaning the turntable tray and the area beneath it, ensuring a pristine surface and proper alignment on the support ring for seamless rotation. Proceed to inspect the turntable motor for potential faults, examining connections and testing functionality; a malfunctioning motor might necessitate replacement. Additionally, examine the drive coupler or roller ring, essential for facilitating the turntable's movement, checking for damage or signs of wear, and replacing any worn-out components to restore optimal function. Should the turntable tray itself be damaged, opting for a compatible replacement tray offers a straightforward resolution. Following any repairs or replacements, conduct tests to ensure the microwave operates with smooth and consistent turntable rotation.
Remember to unplug the microwave and follow safety precautions before attempting any repairs. If you're uncertain about handling internal components, seek professional assistance to avoid further damage or injury.
Hack 3: Dealing with Electrical Problems
Electrical issues can significantly impact a microwave's functionality, causing it to malfunction or completely cease operation. Here's a comprehensive approach to addressing power supply issues and testing/fixing electrical faults in your microwave.
Addressing Power Supply Issues
- Ensure the power outlet where the microwave is plugged in is functional. Try plugging in another device to verify if the outlet is supplying power.
- Check the circuit breaker or fuse box connected to the microwave's power supply. Tripped breakers or blown fuses might be the cause of power issues.
- Examine the microwave's power cord for any visible damage, cuts, or frayed wires. Replace the cord if it's damaged to ensure a safe power supply.
Testing and Fixing Electrical Faults
- A multimeter is a valuable tool for testing electrical continuity, voltage, and resistance. Use it to check components like fuses, switches, and wiring for continuity or faults.
- Microwaves have internal fuses that protect against power surges. Test these fuses for continuity using a multimeter. In case of blown fuses, replace them with fuses of the same rating.
- Faulty door interlock switches can prevent the microwave from starting. Test these switches for proper functionality and replace any malfunctioning ones.
- The door switches ensure the microwave doesn't operate with the door open. Use a multimeter to check their continuity to identify any faulty switches.
- Loose or damaged wiring can interrupt the flow of electricity. Ensure all connections are secure and undamaged. Repair or replace damaged wires as needed.
- If electrical diagnosis and repair seem daunting or if there's uncertainty, consider consulting a qualified technician or electrician for further inspection and repairs.
Always prioritize safety by disconnecting the power supply and following safety precautions when dealing with electrical components. If unsure about handling electrical repairs, seeking professional assistance is recommended to prevent accidents or further damage to the appliance.
Hack 4: Managing Control Panel Glitches
The control panel of a microwave is its interface for operation, and when it malfunctions, it can disrupt the appliance's functionality.
Identifying Issues: Look for signs such as unresponsive buttons, erratic display, or complete panel blackout. These could indicate control panel malfunctions.
Power Cycling: Sometimes, a simple power cycle can resolve minor glitches. Unplug the microwave, wait a few minutes, and plug it back in to reset the control panel.
Cleaning and Inspection: Clean the control panel and buttons with a soft cloth to remove any dirt or debris that might interfere with their functionality. Inspect for physical damage.
Resetting or Repairing Control Mechanisms
To troubleshoot control panel issues, begin with a potential factory reset using the specific button combination or sequence outlined in the user manual. Ensure the ribbon cable connecting the control panel to the main board remains secure and undamaged, re-seating it if needed. Utilize a multimeter to systematically test the functionality of individual control panel components such as buttons and the display, replacing any malfunctioning parts. Conduct a thorough inspection of the main control board for visible damage or burnt components, considering replacement if necessary. If the problem persists or if the control panel complexities are beyond troubleshooting, seeking assistance from a qualified technician for a detailed diagnosis and repair might be prudent.
Prioritize safety by disconnecting the power supply before attempting any repairs on the control panel. If uncertain about handling electronic components, seek professional assistance to avoid accidents or further damage to the appliance.
Hack 5: Handling Door and Seal Problems
The door of a microwave plays a crucial role in safety and proper functionality. When the door or its seal encounters issues, it can lead to safety hazards or affect the appliance's performance.
When evaluating the door seal integrity, conduct a thorough visual inspection of the door seal (gasket), ensuring it exhibits no signs of wear, damage, or deformation while confirming its intactness and proper alignment along the microwave door edges. Perform the "Dollar Bill Test" by closing the door over a dollar bill or paper and gently pulling it out; if it easily slides out, it signals potential compromise in the door seal requiring attention. Additionally, inspect door hinges and latches for any misalignment or damage, as misaligned hinges could hinder proper door closure, thereby impacting the effectiveness of the seal.
To address door component issues, begin by cleaning the door seal thoroughly using a damp cloth to eliminate any accumulated dirt or food particles, ensuring it's completely dry before closing the door. If the door fails to close properly, adjust the hinges or latches for correct alignment, referencing the user manual for guidance on this adjustment. Consider replacing a damaged or ineffective door seal with a compatible one to uphold adequate insulation and safety measures. In instances of extensively damaged hinges, latches, or the door itself, opt for replacements compatible with your microwave model. If complexities persist or handling these door components seems intricate, seeking assistance from a qualified technician for accurate diagnosis and repair is advisable.
Conclusion
Mastering the essential microwave repair hacks provides a robust toolkit for troubleshooting common problems. Coupled with regular cleaning, proper usage, and periodic inspections, these additional maintenance tips ensure not just optimal microwave performance but also extend its longevity, making the kitchen a safer and more efficient space.
You might also like
Educational Center