Whirlpool Dryer Maintenance Hacks You Wish You Knew Earlier
In the realm of household appliances, the humble dryer often stands as a silent workhorse, diligently handling our laundry with efficiency and convenience. However, behind its unassuming facade lies the necessity for proper care and attention. Welcome to a comprehensive guide that unveils the secrets of Whirlpool Dryer Maintenance Hacks – insights you might wish you had known earlier.
Dryer maintenance is not merely a chore; it is a proactive investment in the functionality of a device that plays a pivotal role in our daily lives. As we navigate through this guide, we will uncover the nuances of cleaning, inspection, and troubleshooting, equipping you with the knowledge to optimize your Whirlpool dryer's performance. So, let's embark on a journey to discover the maintenance hacks that can transform the way you perceive and care for this indispensable appliance.
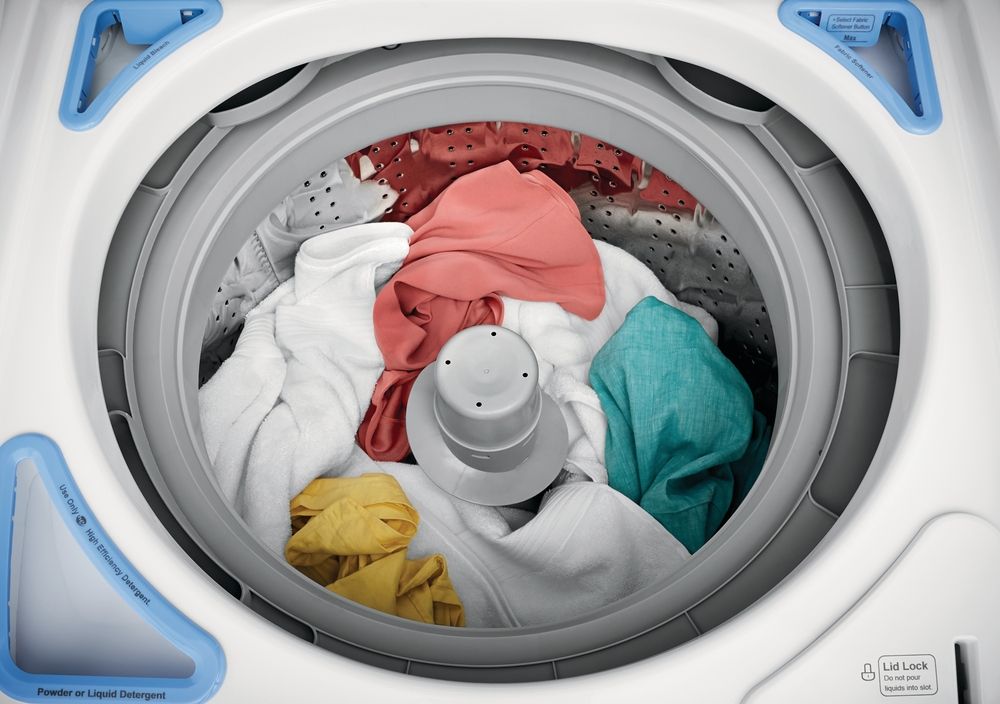
Cleaning the Lint Filter Like a Pro
One of the fundamental aspects of maintaining a Whirlpool dryer and ensuring its optimal performance lies in mastering the art of cleaning the lint filter. The importance of a clean lint filter extends beyond mere upkeep; it directly influences the efficiency, safety, and longevity of your dryer.
At first glance, the lint filter may seem like a minor component of the dryer, but its role in the appliance's functionality is paramount. The filter serves as the first line of defense against the accumulation of lint – those tiny fibers shed by clothing during the drying process. Failure to clean the lint filter regularly can result in a variety of issues, ranging from decreased efficiency and prolonged drying times to more serious concerns such as overheating and fire hazards.
A clean lint filter facilitates proper airflow, allowing the dryer to operate at its full potential. This not only translates to faster drying cycles but also contributes to energy efficiency, ultimately saving you both time and resources.
Ventilation System Optimization
Proper ventilation is a critical aspect of maintaining the efficiency and safety of your Whirlpool dryer. Understanding the intricacies of the dryer vent system and implementing effective ventilation practices can significantly enhance the overall performance of your appliance. The dryer vent system serves as the conduit for expelling hot air, moisture, and lint generated during the drying process. A clear and unobstructed vent is essential for allowing the dryer to function optimally. Over time, lint and debris can accumulate within the vent, impeding airflow and potentially causing a range of issues, from prolonged drying times to a heightened risk of overheating.
Tips for Ensuring Proper Ventilation:
Regular Vent Inspection:
Periodically inspect the dryer vent for any signs of blockage or lint buildup. A clear vent ensures efficient airflow and minimizes the risk of overheating.
Vent Cleaning:
Clean the vent system at least once a year or more frequently if you notice reduced drying efficiency. Use a vent cleaning brush or vacuum attachment to remove lint and debris from the vent pipe.
Ventilation Path Clearance:
Ensure that the ventilation path from the dryer to the external vent is free from any obstacles. Clear away obstructions such as lint, dust, or other items that may accumulate over time.
Vent Hood Maintenance:
Check the vent hood on the exterior of your home. Ensure it opens and closes properly and is free from debris, allowing moist air and lint to escape without hindrance.
Use Shorter Vent Runs:
Whenever possible, keep the dryer vent run as short and straight as possible. Longer and convoluted vents can reduce airflow efficiency.
By prioritizing proper ventilation, you not only optimize your Whirlpool dryer's performance but also mitigate potential safety hazards associated with lint buildup and overheating.
Extending Dryer Lifespan with Drum Maintenance
The drum of your Whirlpool dryer plays a central role in the drying process, and maintaining it properly can contribute significantly to the
appliance's overall lifespan. Here, we delve into essential tips for drum maintenance, including lubrication techniques and identifying and addressing worn-out components.
Lubrication Tips for the Dryer Drum:
- Select a high-quality, heat-resistant lubricant suitable for dryer drums. Consult your dryer's manual or the manufacturer's recommendations for the most compatible lubricant.
- Locate the points where the drum rollers and bearings make contact. These are the areas that may benefit from lubrication to ensure smooth rotation.
- Using a small amount of the chosen lubricant, apply it to the designated points. Be cautious not to over-lubricate, as excess lubricant can attract lint and cause other issues.
- Manually rotate the drum a few times to evenly distribute the lubricant and ensure that it reaches all necessary components.
Checking and Replacing Worn-Out Components:
- Periodically check the drum rollers for signs of wear, such as flat spots or excessive looseness. Replace any worn-out rollers to prevent uneven rotation and potential damage to the drum.
- Assess the condition of the drum belt for any fraying, cracks, or signs of wear. A damaged belt can lead to drum misalignment and inefficient drying.
- If your dryer has drum bearings, inspect them for wear and tear. Replace any worn bearings promptly to maintain smooth drum rotation.
Maximizing Efficiency with Regular Inspections
Routine visual inspections are paramount in maximizing the efficiency and longevity of your Whirlpool dryer. Regularly scrutinizing key components can unearth potential issues before they escalate, ensuring your appliance operates at its best.
Performing routine inspections serves as a proactive measure to maintain optimal functionality. By visually examining elements such as the lint filter, vent system, and drum, you can identify any signs of wear, blockages, or irregularities. Addressing these issues promptly can prevent performance degradation, reduce energy consumption, and contribute to a safer drying environment.
Early detection through visual inspections empowers you to take corrective actions swiftly, avoiding more extensive and costly repairs down the line. Incorporating this simple yet effective practice into your maintenance routine is a proactive investment in the efficiency and reliability of your Whirlpool dryer.
Dealing with Strange Noises
Unusual sounds emanating from your Whirlpool dryer can be disconcerting, but understanding their common causes and implementing DIY solutions can bring peace and quiet back to your laundry routine.
Common causes of strange dryer noises include worn-out drum support rollers, loose belts, or foreign objects caught in the drum. If you notice squeaks, thumps, or rattles, it's essential to address them promptly.
DIY solutions for noise reduction often involve simple adjustments or part replacements. Tightening loose components, lubricating moving parts, or removing trapped objects can often eliminate bothersome sounds. Regular maintenance practices, such as cleaning the lint filter and inspecting the drum, contribute to a quieter operation.
In instances where DIY solutions prove insufficient, it's advisable to consult your dryer's manual for guidance or
seek professional assistance. Timely intervention not only restores a peaceful laundry environment but also prevents potential damage to critical components, ensuring your Whirlpool dryer continues to operate smoothly.
Tips for Preventing Overheating
Preventing your Whirlpool dryer from overheating is crucial for both its performance and safety. Recognizing signs of overheating early on allows you to implement cooling strategies and preventive measures. Signs of an overheating dryer may include excessively hot exterior surfaces, a burning smell, or clothes feeling unusually hot at the end of a cycle. If you notice any of these indicators, it's essential to take immediate action.
To cool an overheating dryer, start by turning it off and allowing it to cool down. Check for lint buildup in the lint filter, exhaust vent, and around the appliance. Ensure proper ventilation and clear any obstructions in the vent system. Regularly cleaning the lint filter after each use is a simple yet effective preventive measure. Additionally, avoid overloading the dryer, as this can impede airflow and contribute to overheating. If the issue persists, consult your dryer's manual for guidance or seek professional assistance to address potential internal problems.
Addressing Smells and Odors
Unpleasant odors emanating from your Whirlpool dryer can impact the freshness of your laundry. Identifying the source of these smells is crucial for implementing effective cleaning and deodorizing techniques. The source of odors in a dryer may range from trapped lint and debris to residue from fabric softeners or detergents. If you detect a musty or burning smell, it's advisable to investigate promptly.
Begin by inspecting the lint filter for any accumulation of lint or debris. Clean the filter thoroughly and wipe down the interior of the drum. Consider running an empty cycle with a mixture of vinegar and water to deodorize the interior and eliminate lingering smells.
For persistent odors, check the vent system for blockages and clean it thoroughly. Ensure that the exhaust vent on the exterior of your home is clear of any obstructions. Washing or replacing the dryer vent hose can also contribute to a fresher-smelling appliance.
Regularly cleaning the lint filter and conducting routine visual inspections are preventive measures that help minimize the risk of unpleasant odors in your Whirlpool dryer. Incorporating these practices into your laundry routine ensures a more pleasant and hygienic drying experience.
Energy-Efficient Drying Practices
Optimizing the energy efficiency of your Whirlpool dryer not only contributes to cost savings but also aligns with sustainable practices. Adjusting settings for optimal energy use is a straightforward yet impactful approach to achieving efficiency.
Start by selecting the appropriate drying cycle for your load. Overdrying not only wastes energy but can also contribute to wear and tear on your clothes. Consider using the moisture sensor feature if available, as it automatically adjusts the drying time based on the moisture level in the load.
Additionally, grouping similar fabrics and avoiding overloading the dryer promotes better airflow, reducing drying times. Regularly cleaning the lint filter ensures proper ventilation, preventing the buildup of lint that can impede efficiency. By incorporating these practices into your laundry routine, you not only enhance the energy efficiency of your Whirlpool dryer but also contribute to a more sustainable and economical approach to drying clothes.
Troubleshooting and Quick Fixes
Addressing common issues with your Whirlpool dryer doesn't always require professional intervention. Quick fixes for common problems can save time and money, provided you know what to look for.
If your dryer isn't heating properly, check for a tripped circuit breaker or blown fuse in your home's electrical panel. Ensure the dryer is plugged in securely and that the lint filter is clean. For issues with clothes taking too long to dry, examine the vent system for obstructions and clean it thoroughly.
When clothes come out wrinkled, consider adjusting the load size and using the correct drying cycle. If the dryer is making unusual noises, inspect the drum for foreign objects and check the drum rollers and belts for wear.
However, there are times when it's necessary to call a professional. If you encounter persistent issues despite attempting quick fixes, or if you notice signs such as burning smells, excessive heat, or unusual sounds, it's advisable to seek professional attention. Professional maintenance becomes crucial when dealing with complex internal components or when the safety of the appliance is compromised.
Knowing when to call a professional ensures that your Whirlpool dryer receives the expertise it needs for more intricate issues, contributing to its longevity and sustained performance. Regular troubleshooting and swift resolution of common problems form a balanced approach to maintaining your dryer effectively.
Conclusion
Mastering the essential Whirlpool dryer maintenance hacks discussed here not only ensures the optimal performance of your appliance but also contributes to its long-term longevity. From cleaning the lint filter to inspecting and lubricating critical components, each practice plays a vital role in sustaining efficiency. As we conclude, the encouragement echoes for incorporating these routines into your regular upkeep, fostering a proactive approach to dryer care that pays dividends in both performance and durability. By dedicating time to these maintenance rituals, you invest not only in the efficiency of your Whirlpool dryer but also in the convenience and peace of mind it brings to your daily laundry routines.
You might also like
Educational Center