
Where is the Heating Element on a Whirlpool Dryer?

Sumayya Tingat

Understanding the components of your Whirlpool dryer can be incredibly beneficial, especially when you encounter issues with your appliance. One key component that often requires attention is the heating element. In this comprehensive guide, we'll delve into the location, function, and troubleshooting of the heating element in Whirlpool dryers. By gaining a deeper understanding of how the heating element works and where it's located, you can efficiently diagnose problems and perform necessary repairs. This knowledge not only saves you from costly service calls but also ensures that your dryer remains in optimal working condition. With the right information, you'll be better prepared to keep your appliance running smoothly for years to come.


What is the Heating Element?

The heating element in a dryer is responsible for generating the heat required to dry clothes. It works by converting electrical energy into heat energy, which is then circulated through the dryer drum. If your dryer is not heating properly, the heating element could be the culprit. A faulty heating element can lead to longer drying times or even prevent the dryer from heating at all. Regular maintenance and timely replacement of the heating element can ensure your dryer operates efficiently. Identifying and addressing heating element issues promptly can also extend the lifespan of your dryer and improve its overall performance.


Location of the Heating Element

The location of the heating element in a Whirlpool dryer can vary slightly depending on the model, but it is generally found in one of the following areas:


1. Behind the Dryer Drum

In many Whirlpool dryers, the heating element is located behind the dryer drum. To access it, you'll typically need to remove the back panel of the dryer. Here are the steps to locate it:


  1. Unplug the Dryer: Safety first! Ensure the dryer is unplugged from the power source to avoid any electrical hazards.
  2. Remove the Back Panel: Using a screwdriver, remove the screws securing the back panel of the dryer. Carefully take off the panel to expose the internal components.
  3. Locate the Heating Element: The heating element is usually housed in a metal casing, often on the right-hand side when looking from the back. It will have wires connected to it, and you may see it glowing red if it’s operational.


2. Inside the Dryer Cabinet

In some models, the heating element might be located inside the dryer cabinet, typically near the bottom. Accessing it requires a few more steps:


  1. Unplug the Dryer: Always start by unplugging the appliance.
  2. Remove the Top Panel: Some models require you to remove the top panel before accessing the inside. This can be done by removing screws or using a putty knife to release clips.
  3. Remove the Front Panel: After the top panel, you may need to remove the front panel. This usually involves taking out screws and disconnecting the door switch wiring harness.
  4. Locate the Heating Element: The heating element is often near the blower housing at the bottom of the dryer. It will be in a metal casing and connected to several wires.


3. Behind the Lint Filter Housing

In certain Whirlpool dryers, the heating element is located behind the lint filter housing. Here’s how to find it:


  1. Unplug the Dryer: Ensure the dryer is disconnected from the power source.
  2. Remove the Lint Filter: Pull out the lint filter from its housing.
  3. Remove the Lint Filter Housing Screws: Using a screwdriver, remove the screws that secure the lint filter housing.
  4. Locate the Heating Element: The heating element will be situated behind the housing, typically encased in a metal shield with wires attached to it.


Why is the Location Important?

Knowing the location of the heating element is crucial for a few reasons:


  1. Troubleshooting: If your dryer is not heating, knowing where the heating element is located allows you to check it for issues such as breaks or burns.
  2. Replacement: When the heating element fails, you'll need to replace it. Knowing its location simplifies this process.
  3. Maintenance: Periodic maintenance can extend the life of your dryer. Cleaning the area around the heating element can prevent lint buildup, which is a fire hazard.


Common Issues with Heating Elements

Understanding common problems associated with heating elements can help you diagnose issues with your dryer:


1. Burnt Out Heating Element

A burnt-out heating element is the most common issue. Over time, the element can wear out and break, resulting in no heat being produced.


2. Thermal Fuse Issues

The thermal fuse is a safety device that prevents the dryer from overheating. If the fuse blows, the dryer may not heat up. The thermal fuse is usually located near the heating element, and it should be checked if the dryer is not heating.


3. Cycling Thermostat Problems

The cycling thermostat regulates the temperature inside the dryer. If it fails, the heating element may not receive the correct signals to heat up. The thermostat is often located near the heating element.


4. Faulty Wiring or Connections

Loose or damaged wiring can prevent the heating element from functioning correctly. Inspect the wiring connected to the heating element and other related components for any signs of damage.


How to Replace the Heating Element

If you’ve determined that the heating element in your Whirlpool dryer needs to be replaced, here’s a step-by-step guide:


Tools Needed

  • Screwdriver set
  • Multimeter (for testing)
  • Replacement heating element
  • Needle-nose pliers


Steps

  1. Unplug the Dryer: Disconnect the dryer from the power source.
  2. Access the Heating Element: Depending on your dryer model, follow the steps mentioned earlier to locate the heating element.
  3. Disconnect the Wires: Use needle-nose pliers to carefully disconnect the wires attached to the heating element.
  4. Remove the Heating Element: Unscrew any screws securing the heating element in place and carefully remove it.
  5. Install the New Heating Element: Place the new heating element in the same position and secure it with screws. Reconnect the wires.
  6. Reassemble the Dryer: Put the dryer panels back in place and secure them with screws.
  7. Test the Dryer: Plug the dryer back in and run a test cycle to ensure the new heating element is working correctly.


Understanding and Replacing 

The heating element is a critical component of your Whirlpool dryer, responsible for generating the heat necessary to dry clothes. Knowing its location and understanding how to troubleshoot and replace it can save you time and money. Whether the heating element is behind the drum, inside the cabinet, or behind the lint filter housing, following the proper steps ensures a safe and effective repair. Always remember to prioritize safety by unplugging the dryer before any inspection or repair work. With this guide, you’re well-equipped to handle heating element issues in your Whirlpool dryer and keep it running efficiently.


You might also like

Educational Center
By Rabia Tingat • October 3, 2026
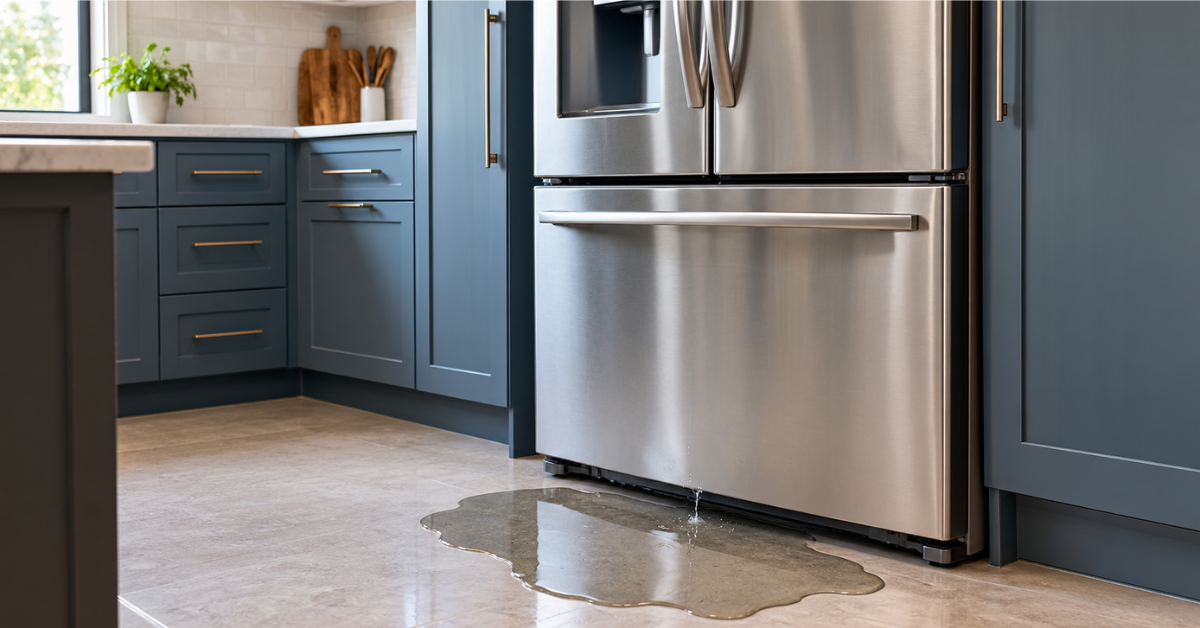
You walk into the kitchen in your socks and feel something wet under your feet. There's a small puddle spreading out from under the refrigerator. Or maybe you open the crisper drawer to grab some vegetables and find water sitting at the bottom, right where everything should be dry. Either way, your stomach drops a little. Water on the floor feels like a big problem, even before you know what's causing it. Here's the reassuring part. A Sub-Zero isn't like an ordinary fridge. It's built to control humidity carefully and to cool the fridge and freezer separately, and that gives a leak only a few places to come from. It might be a clogged drain, a blocked water line, a problem with the ice maker, or a part that has frozen over and is now melting. In most cases it's not a mystery at all. The hardest part is finding out where the water is actually coming from, and that's what this guide will help you do. We'll go through the most common causes, what you can safely check yourself, and when it makes sense to call a technician instead. Start by Locating Where the Water Is Actually Appearing This matters more than it might seem. Water pooling inside the unit, especially in the crisper drawers, points toward a different cause than water appearing on the floor outside the refrigerator. Take a moment to identify the source location before assuming you know what's wrong, since it meaningfully changes where to look next. Water Inside the Refrigerator, Especially in Crisper Drawers A clogged or frozen defrost drain. This is one of the most common sources of interior water accumulation. Sub-Zero units periodically defrost automatically, and the resulting water is meant to drain away through a small channel. When that drain becomes blocked by food debris or freezes over, water backs up and pools inside the unit instead of draining properly. Humidity control settings that are too high for what's stored. Sub-Zero's precise humidity management is a genuine advantage for food preservation, but settings that are too high for certain produce can occasionally lead to excess condensation inside drawers, less a malfunction than a setting worth adjusting based on what you're actually storing. How Much Does Appliance Repair Cost in 2026? Water Pooling on the Floor Outside the Unit An overflowing or misaligned drain pan. Refrigerators use a small drain pan, usually located near the bottom of the unit, to collect and evaporate condensation and defrost water. If this pan has shifted out of position, cracked, or is receiving more water than it can handle due to another issue upstream, it can overflow onto the floor. A water supply line connection issue, on models with an ice maker or water dispenser. The line delivering water to these features runs from your home's water supply to the refrigerator, and a loose fitting, a small crack, or a connection that's degraded over time can produce a slow leak that's sometimes mistaken for condensation until it's traced back to its actual source. Condensation from door seal issues. A door that isn't sealing fully allows warm, humid air to continuously meet the cold interior, and the resulting condensation can, in some cases, be significant enough to drip and pool near the base of the unit rather than staying contained inside. A Detail Specific to Sub-Zero's Built-In Installation Because Sub-Zero units are frequently installed as built-ins, flush with surrounding cabinetry, a water leak has less room to spread out and evaporate on its own compared to a freestanding refrigerator with more open floor space around it. This means leaks are often noticed faster, but it also means water can potentially affect surrounding cabinetry or flooring more directly if it isn't addressed promptly, worth keeping in mind when deciding how quickly to act. How Often Should You Service a Sub-Zero Refrigerator? (Maintenance Guide) Checking the Ice Maker Specifically If your Sub-Zero includes a built-in ice maker, it's worth checking whether the leak coincides with ice production cycles. A water leak that seems to happen specifically around when the ice maker runs points more directly toward the water supply line or the ice maker's own internal components, rather than the broader defrost or drainage system. What You Can Check Before Calling a Technician Identify exactly where the water is appearing, inside the unit versus on the floor outside Check whether interior pooling coincides with drawers specifically, suggesting a defrost drain issue Look for visible dampness or dripping around the water line connection if your model has an ice maker or dispenser Inspect the door seal for gaps that could be contributing to excess condensation Note whether the leak seems tied to specific events, defrost cycles, ice production, or seems constant Why This Isn't Always a DIY Fix While identifying the general source is often manageable on your own, actually clearing a frozen or clogged defrost drain, repositioning a drain pan, or repairing a water line connection typically involves accessing components that aren't designed for regular homeowner access. Sub-Zero's sealed system design, part of what makes it perform so well, also means these repairs benefit from someone familiar with the specific platform. Getting a Reliable Repair Sub-Zero's precision cooling and humidity systems are different enough from standard refrigerators that experience with the brand specifically matters for an accurate diagnosis. Authorized Appliance's technicians come equipped with the diagnostic tools and commonly needed parts for premium built-in refrigerators, which helps keep most repair visits, including leak-related ones, to a single appointment. Frequently Asked Questions Q: Is a small amount of water inside the crisper drawers always a problem? A: A small amount of condensation can be normal depending on humidity settings and what's stored, but noticeable pooling usually points to a drain or humidity setting issue worth addressing. Q: Can a water leak damage my cabinetry if my Sub-Zero is built in? A: Yes, built-in installations have less room for water to spread and evaporate, so surrounding cabinetry and flooring can be affected if a leak isn't addressed promptly. Q: How do I know if the leak is coming from the ice maker or somewhere else? A: Pay attention to timing, if the leak seems to happen specifically around ice production cycles, it's more likely related to the water supply line or ice maker rather than the general drainage system. Q: Can I clear a clogged defrost drain myself? A: It's possible on some models, but the drain is often not easily accessible without proper knowledge of the unit's layout, and a technician can typically clear it more quickly and confirm nothing else is contributing to the issue. A Final Note A water leak on a Sub-Zero refrigerator almost always has an identifiable source once you know where to look, and pinpointing exactly where the water is appearing does most of the diagnostic work before a technician ever arrives. Given how much more contained a leak is in a built-in installation, it's worth addressing promptly rather than waiting to see if it resolves on its own.
Amana Refrigerator Not Cooling: Common Causes
By Rabia Tingat • September 30, 2026
Amana fridge not cooling? Check the coils, door seals, airflow, and settings first. Here's what usually causes it and when to call a tech.
Wolf Cooktop Not Igniting: Common Causes
By Rabia Tingat • September 29, 2026
Wolf cooktop burner won't ignite? Here are the most common causes, from clogged ports to igniter issues, and what to check before calling a tech.

Book a Service Today